


This guide will show you how to resolve sign-in errors when you try to activate your ExpressVPN app.
What error message do you see?
Error message: “Your activation code is incorrect. Please try again or contact Support.”
Error message: “Please make sure your email address and password are correct.”
Error message: “Please check your connection, then try again.”
Errors with email sign-in link
Troubleshooting activation code issues
When entering your activation code, you may get this error message:
Invalid access code.
 To sign in, please enter the verification code sent to [Email address].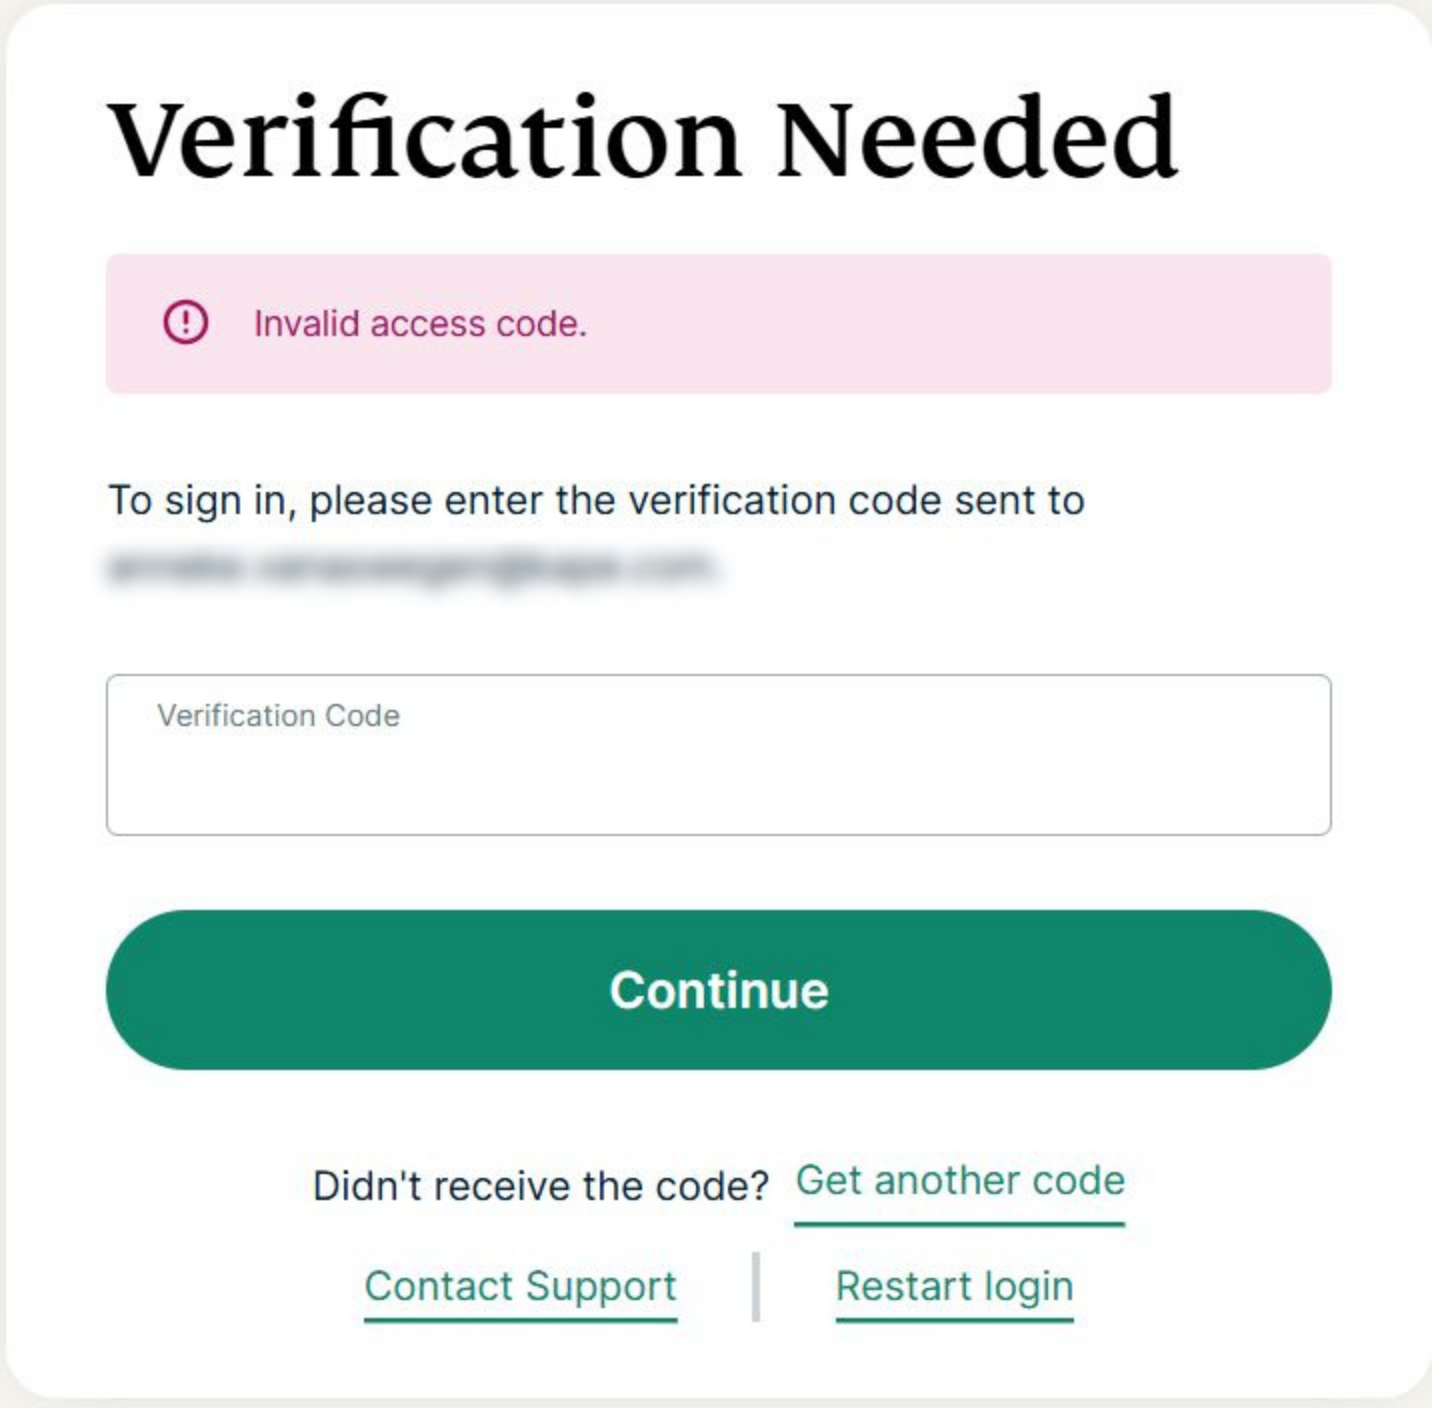
Make sure you copy and paste your activation code into the field to avoid mistyping it. If the issue persists, please contact the ExpressVPN Support Team for immediate assistance.
Need help? Contact the ExpressVPN Support Team for immediate assistance.
Troubleshooting sign-in issues on mobiles
When entering your sign-in details, you may get this error message:
Unable to Sign In. Please make sure your email address and password are correct.

Try signing in to your ExpressVPN account on the website.
If you cannot sign in to the website either, this means your sign-in details are incorrect. Please reset your password and log in to your ExpressVPN account again.
Need help? Contact the ExpressVPN Support Team for immediate assistance.
Troubleshooting network issues
When signing in to your ExpressVPN app, you may get the below connection error message:
Please check your connection, then try again.
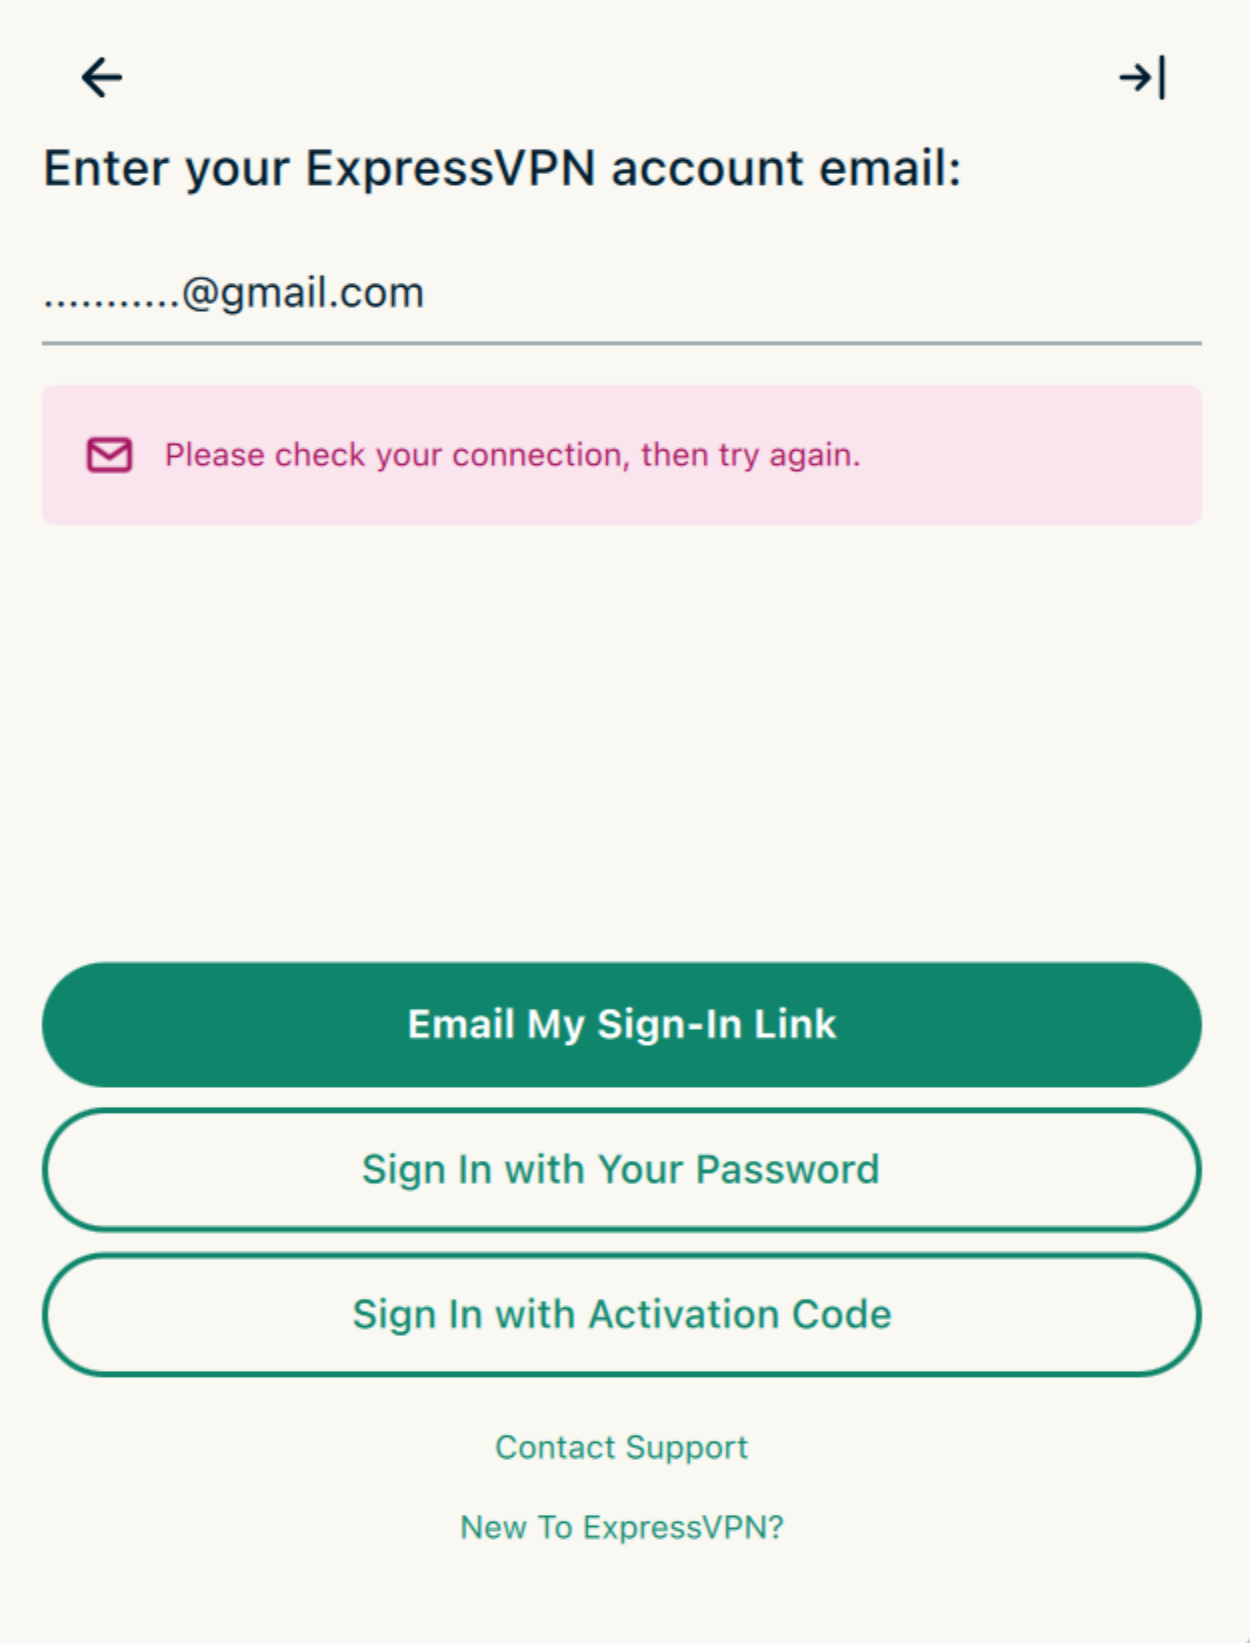
Try connecting your device to another available network.
If the issue persists, you can try changing your DNS servers to OpenDNS’s DNS servers only. Please refer to the section appropriate to your device below.
Note: Write down your current DNS address/setting before changing it for future reference and safekeeping.
You can change your DNS server with these steps:
- Go to Control Panel > Network and Internet > Network and Sharing Center > Change Adapter Settings.
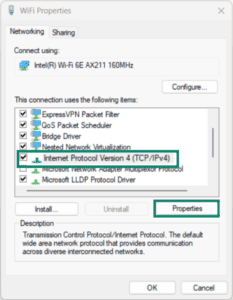
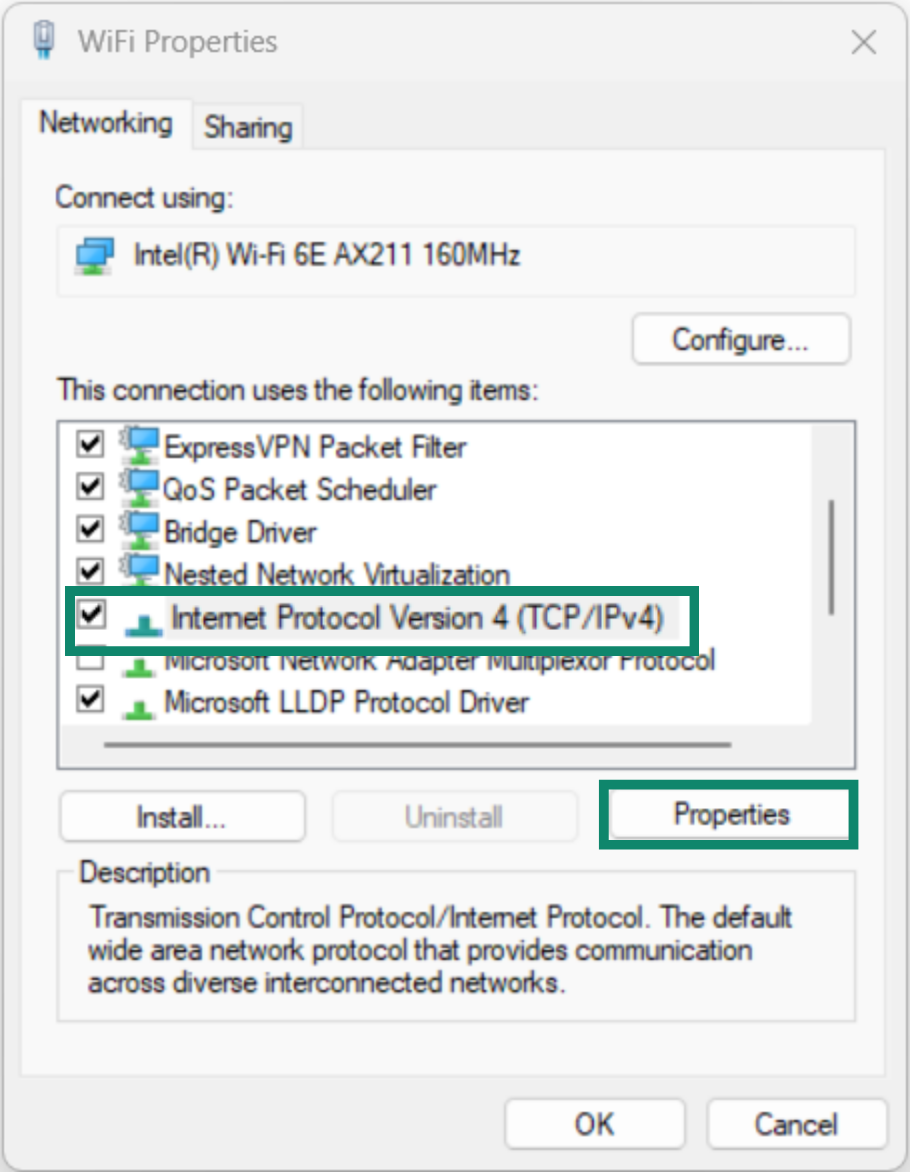
- Right-click on the active network connection and click Properties.
- In the Networking tab, select Internet Protocol Version 4 (TCP/IPv4) and click Properties.

- Select Use the following DNS server addresses.
- Enter 208.67.222.222 and 208.67.220.220. These are secure OpenDNS’s DNS servers.
- Click OK and OK.
- Try activating your ExpressVPN app again.
You can revert the changes made to your DNS settings to use your local DNS servers after you have successfully activated your ExpressVPN app.
Need help? Contact the ExpressVPN Support Team for immediate assistance.
You can change your DNS server with these steps:
- Click

 . Select System Preferences or System Settings > Network.
 - Select the connection for which you want to change your DNS server settings. Click Details or Advanced…
- Select the DNS tab. Click
 to enter 208.67.222.222 and 208.67.220.220. These are secure OpenDNS’s DNS servers.
 - Click OK.
- Try activating your ExpressVPN app again.
You can revert the changes made to your DNS settings to use your local DNS servers after you have successfully activated your ExpressVPN app.
Need help? Contact the ExpressVPN Support Team for immediate assistance.
Different distros have different GUIs, so the settings may be named differently. Below are the general steps to change your DNS server on Linux:
- Go to Settings > Network or Wi-Fi & Internet.
- Select the connection for which you want to change your DNS server settings.
- Click Edit. Select IPv4.
- Select Automatic (DHCP) or Choose Automatic.
- In the DNS servers field, enter 208.67.222.222 and 208.67.220.220.
- Click Apply.
- Try activating your ExpressVPN app again.
You can revert the changes made to your DNS settings to use your local DNS servers after you have successfully activated your ExpressVPN app.
Need help? Contact the ExpressVPN Support Team for immediate assistance.
Every Android device uses a different user interface in its settings. You can change your DNS server settings with these generic steps below:
- Go to Settings > Network & internet or Connections.
- Tap your current Wi-Fi network.
- Tap the Edit icon (gear).
- Select Advanced options or View more.
- Change IP settings to static.
- In DNS 1 and DNS 2 fields, enter 208.67.222.222 and 208.67.220.220. These are secure OpenDNS’s DNS servers.
- Tap Save.
- Try activating your ExpressVPN app again.
You can revert the changes made to your DNS settings to use your local DNS servers after you have successfully activated your ExpressVPN app.
Need help? Contact the ExpressVPN Support Team for immediate assistance.
You can change your DNS server with these steps:
- Go to Settings.
- Tap Wi-Fi > Your current network.
- Tap Configure DNS and change Automatic to Manual.
- Remove existing DNS servers.
- Tap Add Server. Enter 208.67.222.222 and 208.67.220.220. These are secure OpenDNS’s DNS servers.
- Tap Save.
- Try activating your ExpressVPN app again.
You can revert the changes made to your DNS settings to use your local DNS servers after you have successfully activated your ExpressVPN app.
Need help? Contact the ExpressVPN Support Team for immediate assistance.
Every router admin panel has a different user interface. You can change your primary router’s DNS server settings with these generic steps below:
- Find your router’s IP address. Then, type it in your browser.
- Log in to your router admin panel.
- Go to your DNS server settings. Enter 208.67.222.222 and 208.67.220.220. These are secure OpenDNS’s DNS servers.
- Tap Save or Apply.
- Try activating your ExpressVPN app again.
Note: Changing DNS settings on your router may affect all devices connected to that network.
You can revert the changes made to your DNS settings to use your local DNS servers after you have successfully activated your ExpressVPN app.
Need help? Contact the ExpressVPN Support Team for immediate assistance.
If you are still unable to activate the ExpressVPN app after changing your DNS server, try connecting your device to another Wi-Fi network you haven’t connected to before. If the same issue persists, please contact the ExpressVPN Support Team for immediate assistance.
For any further issues, contact the ExpressVPN Support Team for immediate assistance.
Errors with email sign-in link
Select the issue you are facing and follow the corresponding troubleshooting steps.
I didn’t receive an email with a sign-in link
Check if the email address you entered is correct.
If the email address you entered is incorrect:
- Enter the correct email address.
- Click Resend Email.
If the email address you entered is correct:
- Wait to check your email inbox and check your spam folder.
- If you still haven’t received the email, enter your email address again.
- Click Resend Email.
In both cases, if you still haven’t received the email, use the activation code associated with your ExpressVPN account to activate the app. Note that to do this, you would need to be signed into your ExpressVPN account on the website.
- Open the Activation Code.
- Select Sign In.
- Choose Sign In with Activation Code (or similar wording).
- Copy your activation code from your ExpressVPN account dashboard.
- Paste the code into the app and click Sign In.
Need help? Contact the ExpressVPN Support Team for immediate assistance.
I received an email with a sign-in link and clicked the email link, but saw an error in the browser
Use the activation code instead to activate the ExpressVPN app.
- Click Sign In with Activation Code.
- Find your activation code in your ExpressVPN account’s dashboard.
- Enter the activation code in the app. Click Continue.
Need help? Contact the ExpressVPN Support Team for immediate assistance.
Use the activation code instead to activate the ExpressVPN app.
- Click Sign In with Activation Code.
- Find your activation code in your ExpressVPN account’s dashboard.
- Enter the activation code in the app. Click Continue.
Need help? Contact the ExpressVPN Support Team for immediate assistance.